“Always start out with a larger pot than what you think you need.”
Nothing could be more true than this quote from Julia Child, so many times I have started to prepare a meal and realised that I have underestimated the required size of the pan, casserole or serving dish. It is a rule that certainly turned out to be true of this particular recipe once I had scaled it up to feed three hungry people!
Chicken, Mushroom and Bacon Pie – adapted from a recipe by Nigella Lawson
Ingredients – quantities are scaled up from the original, as well as the proportions being tweaked a little and substituting some alternatives to the original.
6 rashers of smoky bacon – I prefer the leaner back bacon, but streaky bacon adds a little more flavour due to the higher fat content. As an alternative, for those who don’t eat bacon I use Quorn “bacon” slices.
A lug of garlic olive oil
250g chestnut mushrooms (don’t be tempted to go for button mushrooms, they won’t add enough flavour)
A knob of butter
400 – 500g skinless chicken breasts
50g of plain flour (I use a gluten free rice/potato flour)
2 teaspoons of dried thyme
550ml of chicken stock – if using bacon I use a knorr stock cube as it is less salty and the bacon itself adds enough salt, however if using Quorn instead of bacon I use oxo cubes which are saltier (the Quorn is not very salty)
2 tablespoons (30mls) of Marsala – well to be honest, that’s what the recipe says, but I always “add one for luck” – so really its 45mls!
Approx. 600g of potatoes that will mash well, I use Maris Pipers
Salt and pepper for seasoning
There is quite a bit of preparation with this pie, but it’s all very straightforward. Allow 30 minutes for preparation time and about 40 minutes for cooking.
Preparation
Prepare the following before you cook anything:
Slice the bacon into 2cm pieces
Thinly slice the mushrooms
Cut the chicken breasts into 2-3cm pieces
Prepare the chicken stock
Peel and cut up the potatoes and put onto boil in lightly salted water
Pre-heat your oven to 200C
Cooking
Now you are ready to start cooking:
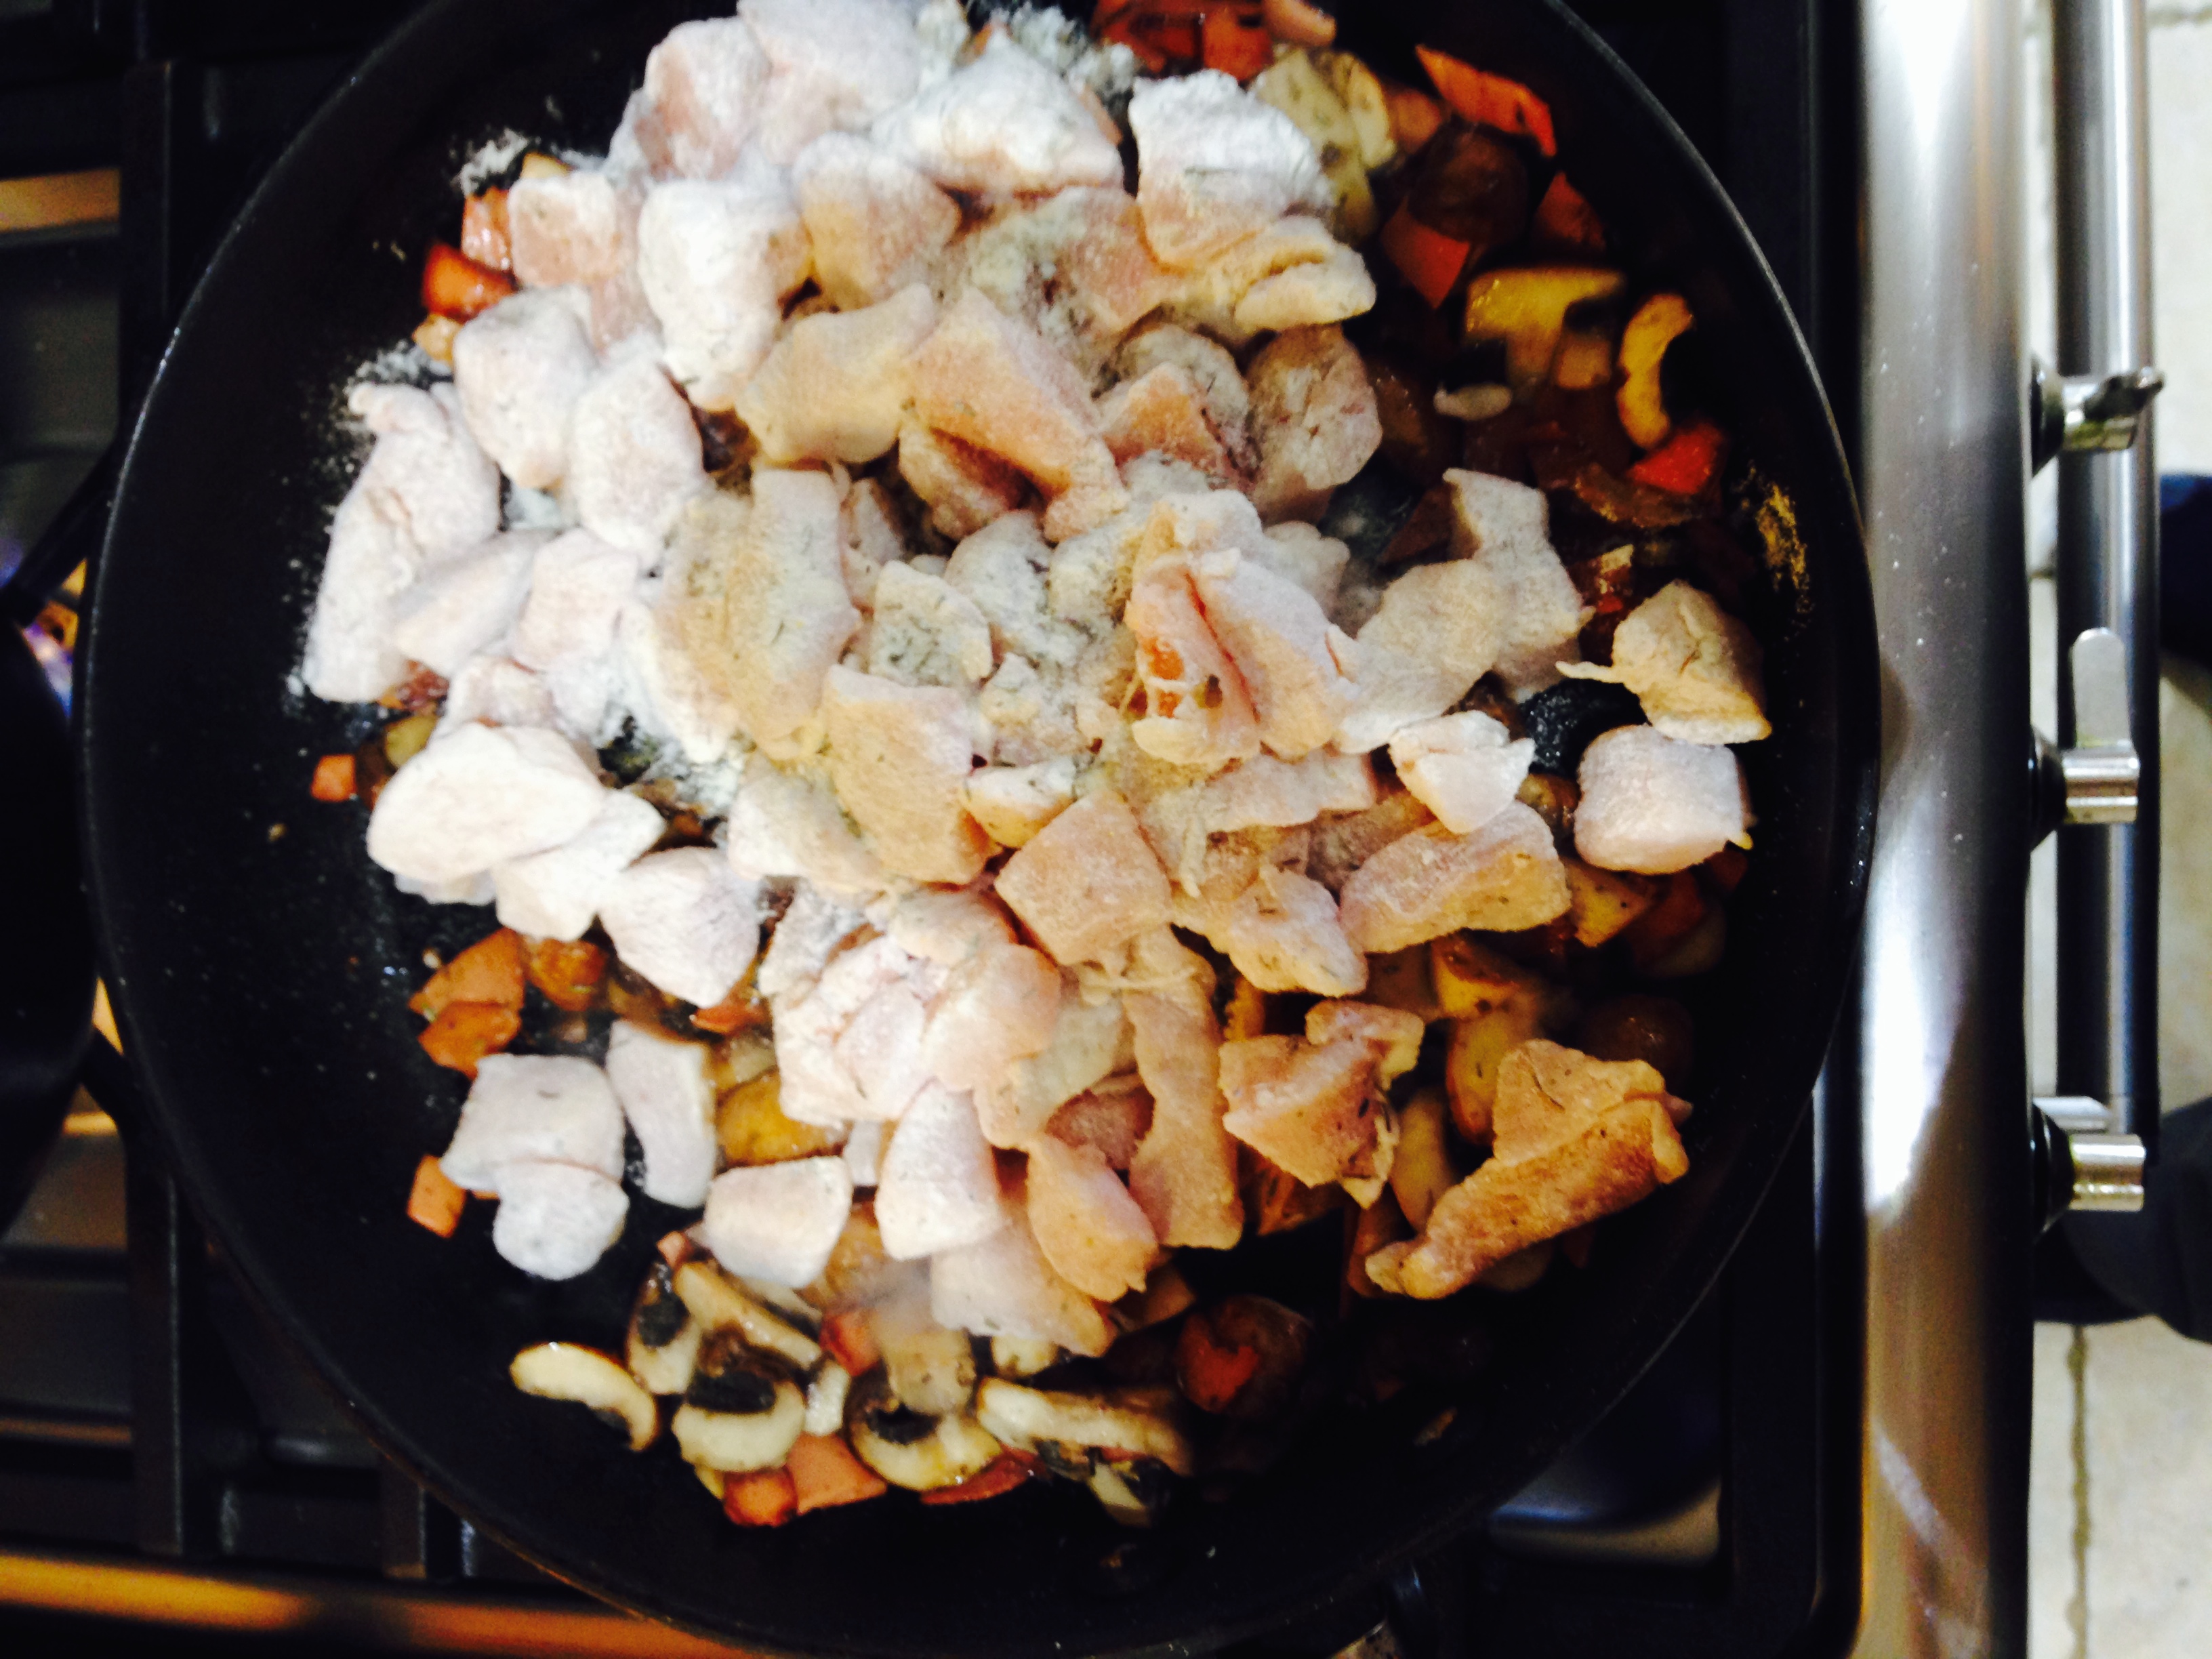
Firstly, tip the flour and the thyme into a large freezer bag, add the chicken pieces, close the bag and shake until the chicken is coated in the flour and thyme.

Shake the chicken, flour and thyme in a freezer bag
Put a lug of garlic olive oil in a deep frying pan, bring the heat up and fry the bacon pieces, once they start to crisp add the mushrooms and stir in with the bacon until they start to soften. Add the knob of butter, allow it to melt and then tip in the chicken. Adjust the heat to medium. Stir until the chicken has coloured on all sides – this just means so that the chicken as whitened on the outside. At this stage you get the lovely aroma of the thyme as it is heated.
Cook the chicken with the bacon and mushrooms until the chicken begins to colour
Now pour the chicken stock into the pan, and add the Marsala (there’s always a little Marsala left on the spoon, so it’s chef’s privilege to lick it!). Stir thoroughly, bring the heat up so that the stock just comes to the boil and then simmer for about 10 minutes, or until what is effectively a gravy begins to thicken – and that’s the consistency to aim for, a typical gravy thickness. At this stage, if you have used the Quorn bacon substitute, add salt and pepper to season – only a little pepper is necessary if you have used ordinary bacon.
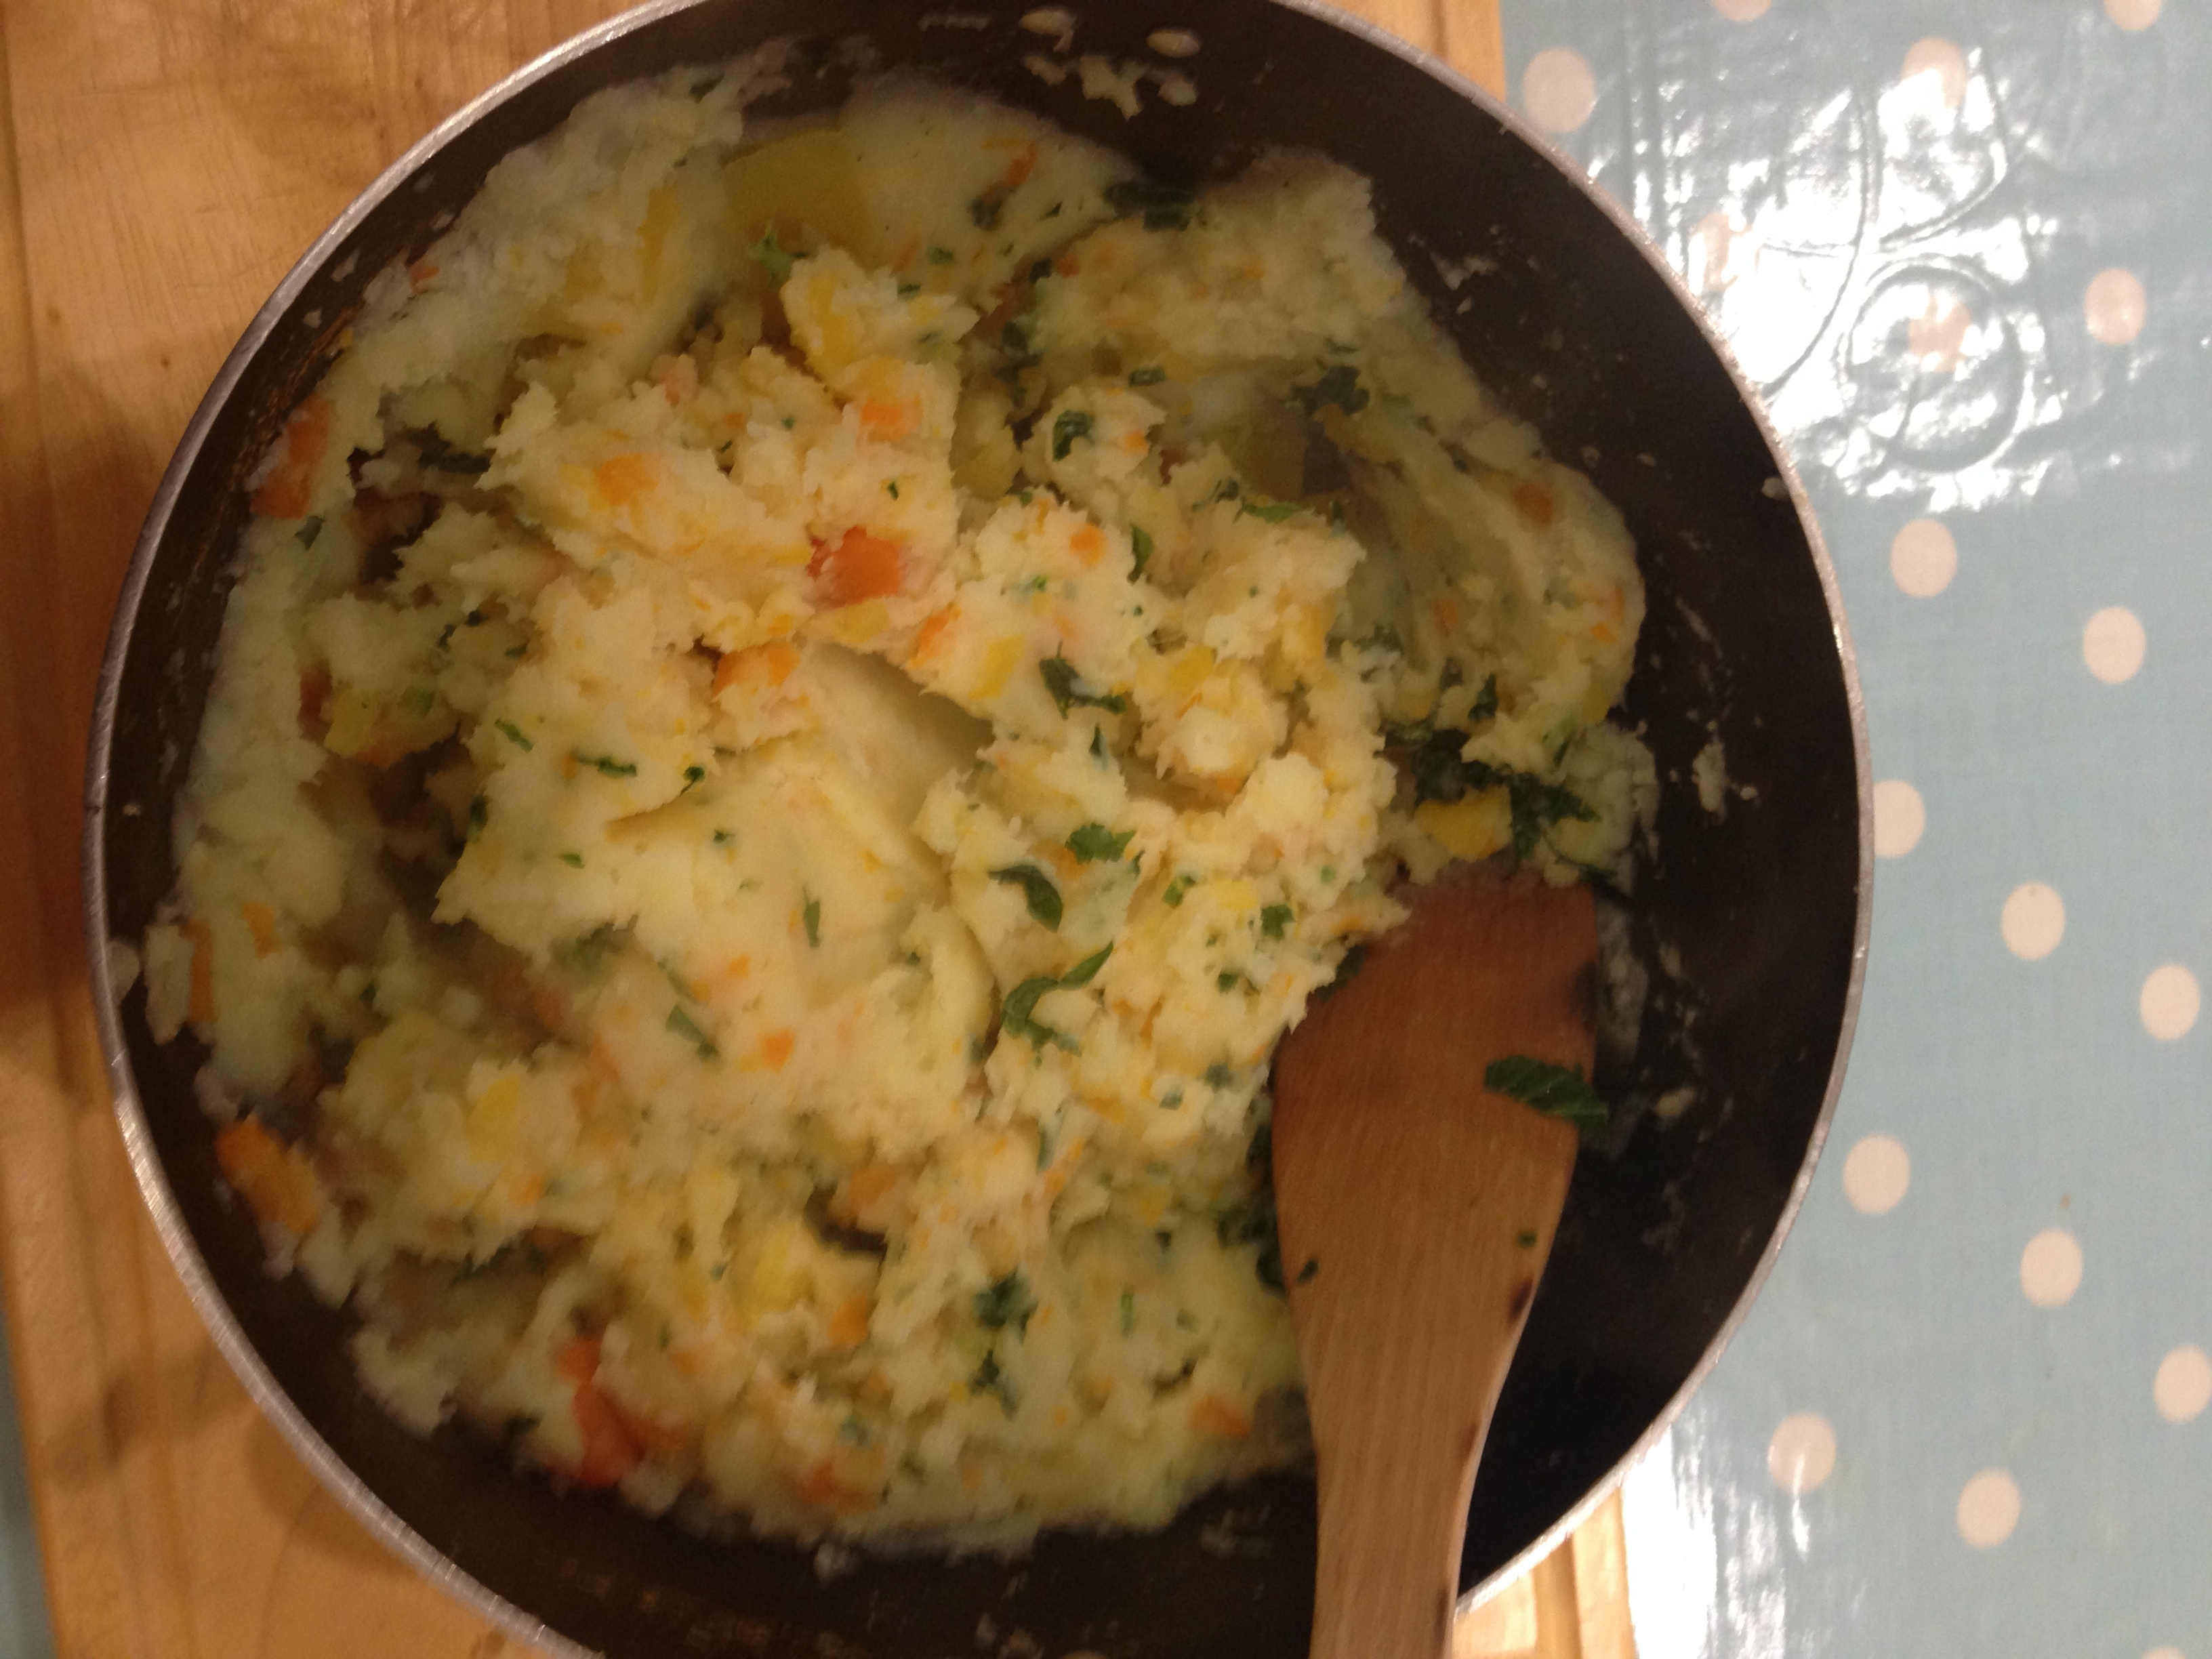
While the pie filling is simmering away, mash the potatoes which should be cooked by now, a little butter will help to create a smooth mash.
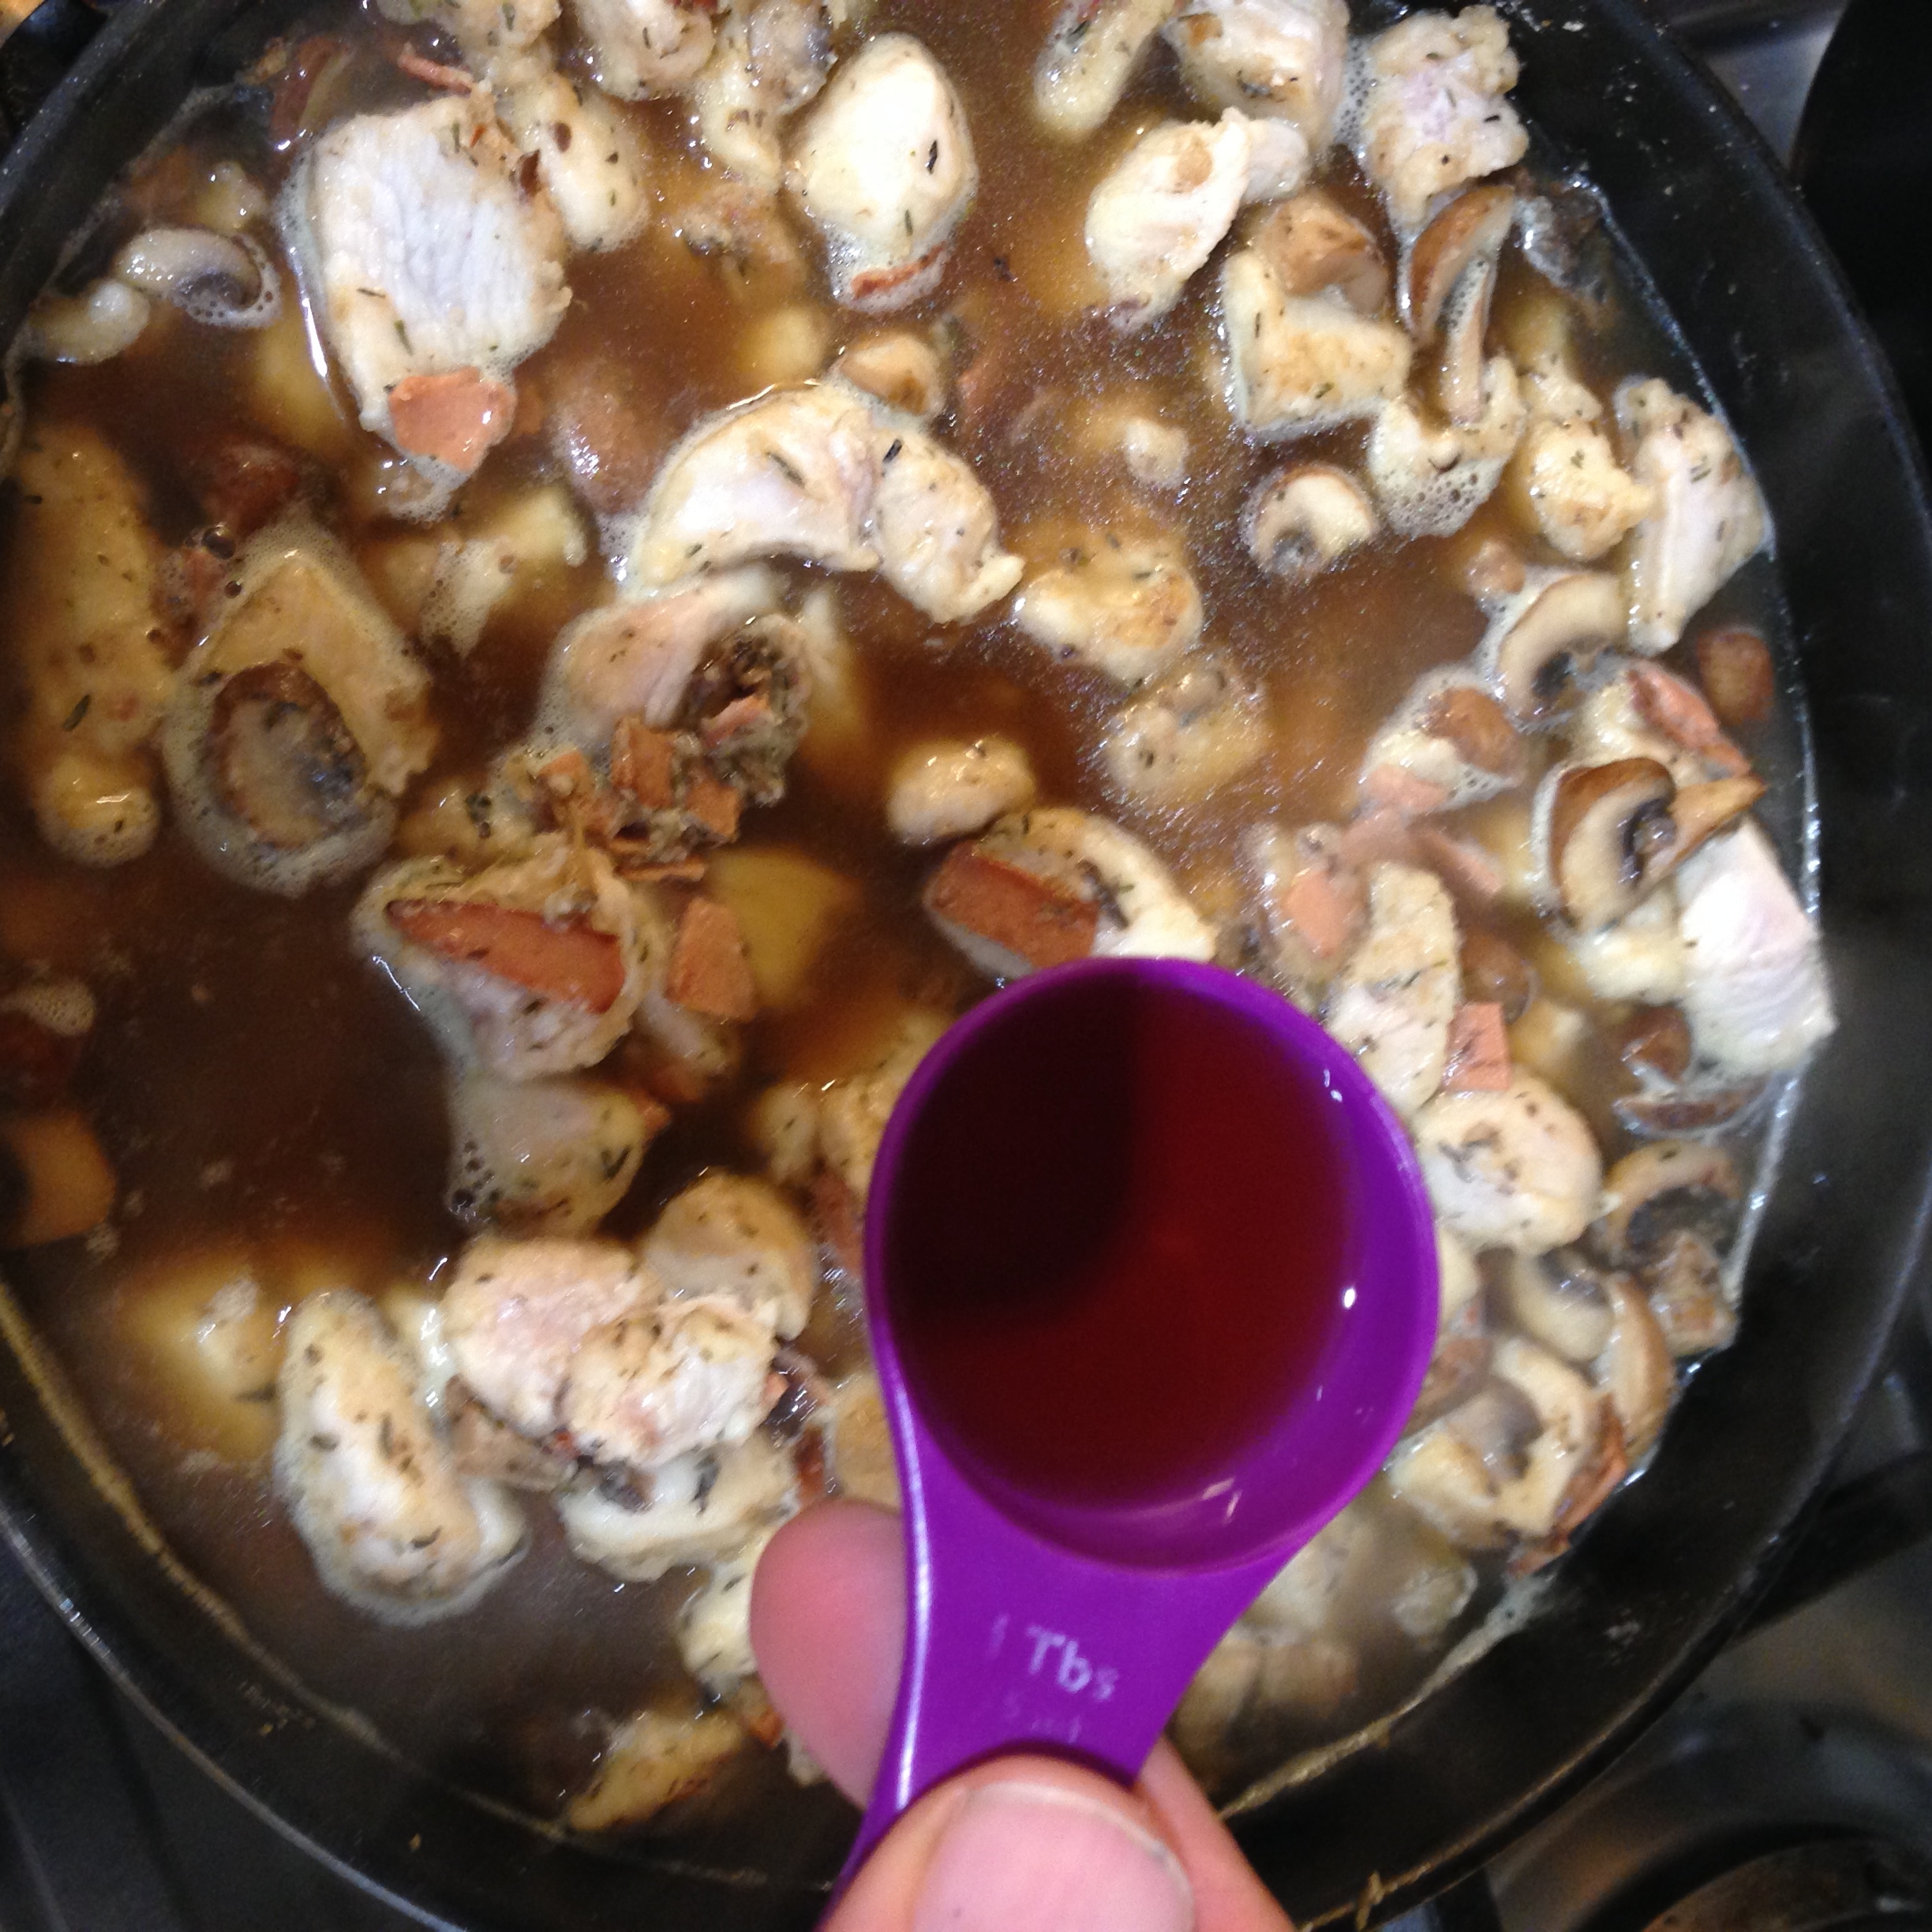
Add the chicken stock and Marsala
Once the gravy is at a thickness that suits you, pour the mixture into a large oven proof pie dish, ensuring that the contents are evenly mixed. Then layer the mashed potato over the top of the filling, using a fork to create nice tram-line patterns on the top. You should have enough potato for it to be around 0.25-0.5cm depth. The original recipe uses a puff pastry topping and smaller pie dishes, but we prefer the potato version.

Put the pie filling into a large pie dish
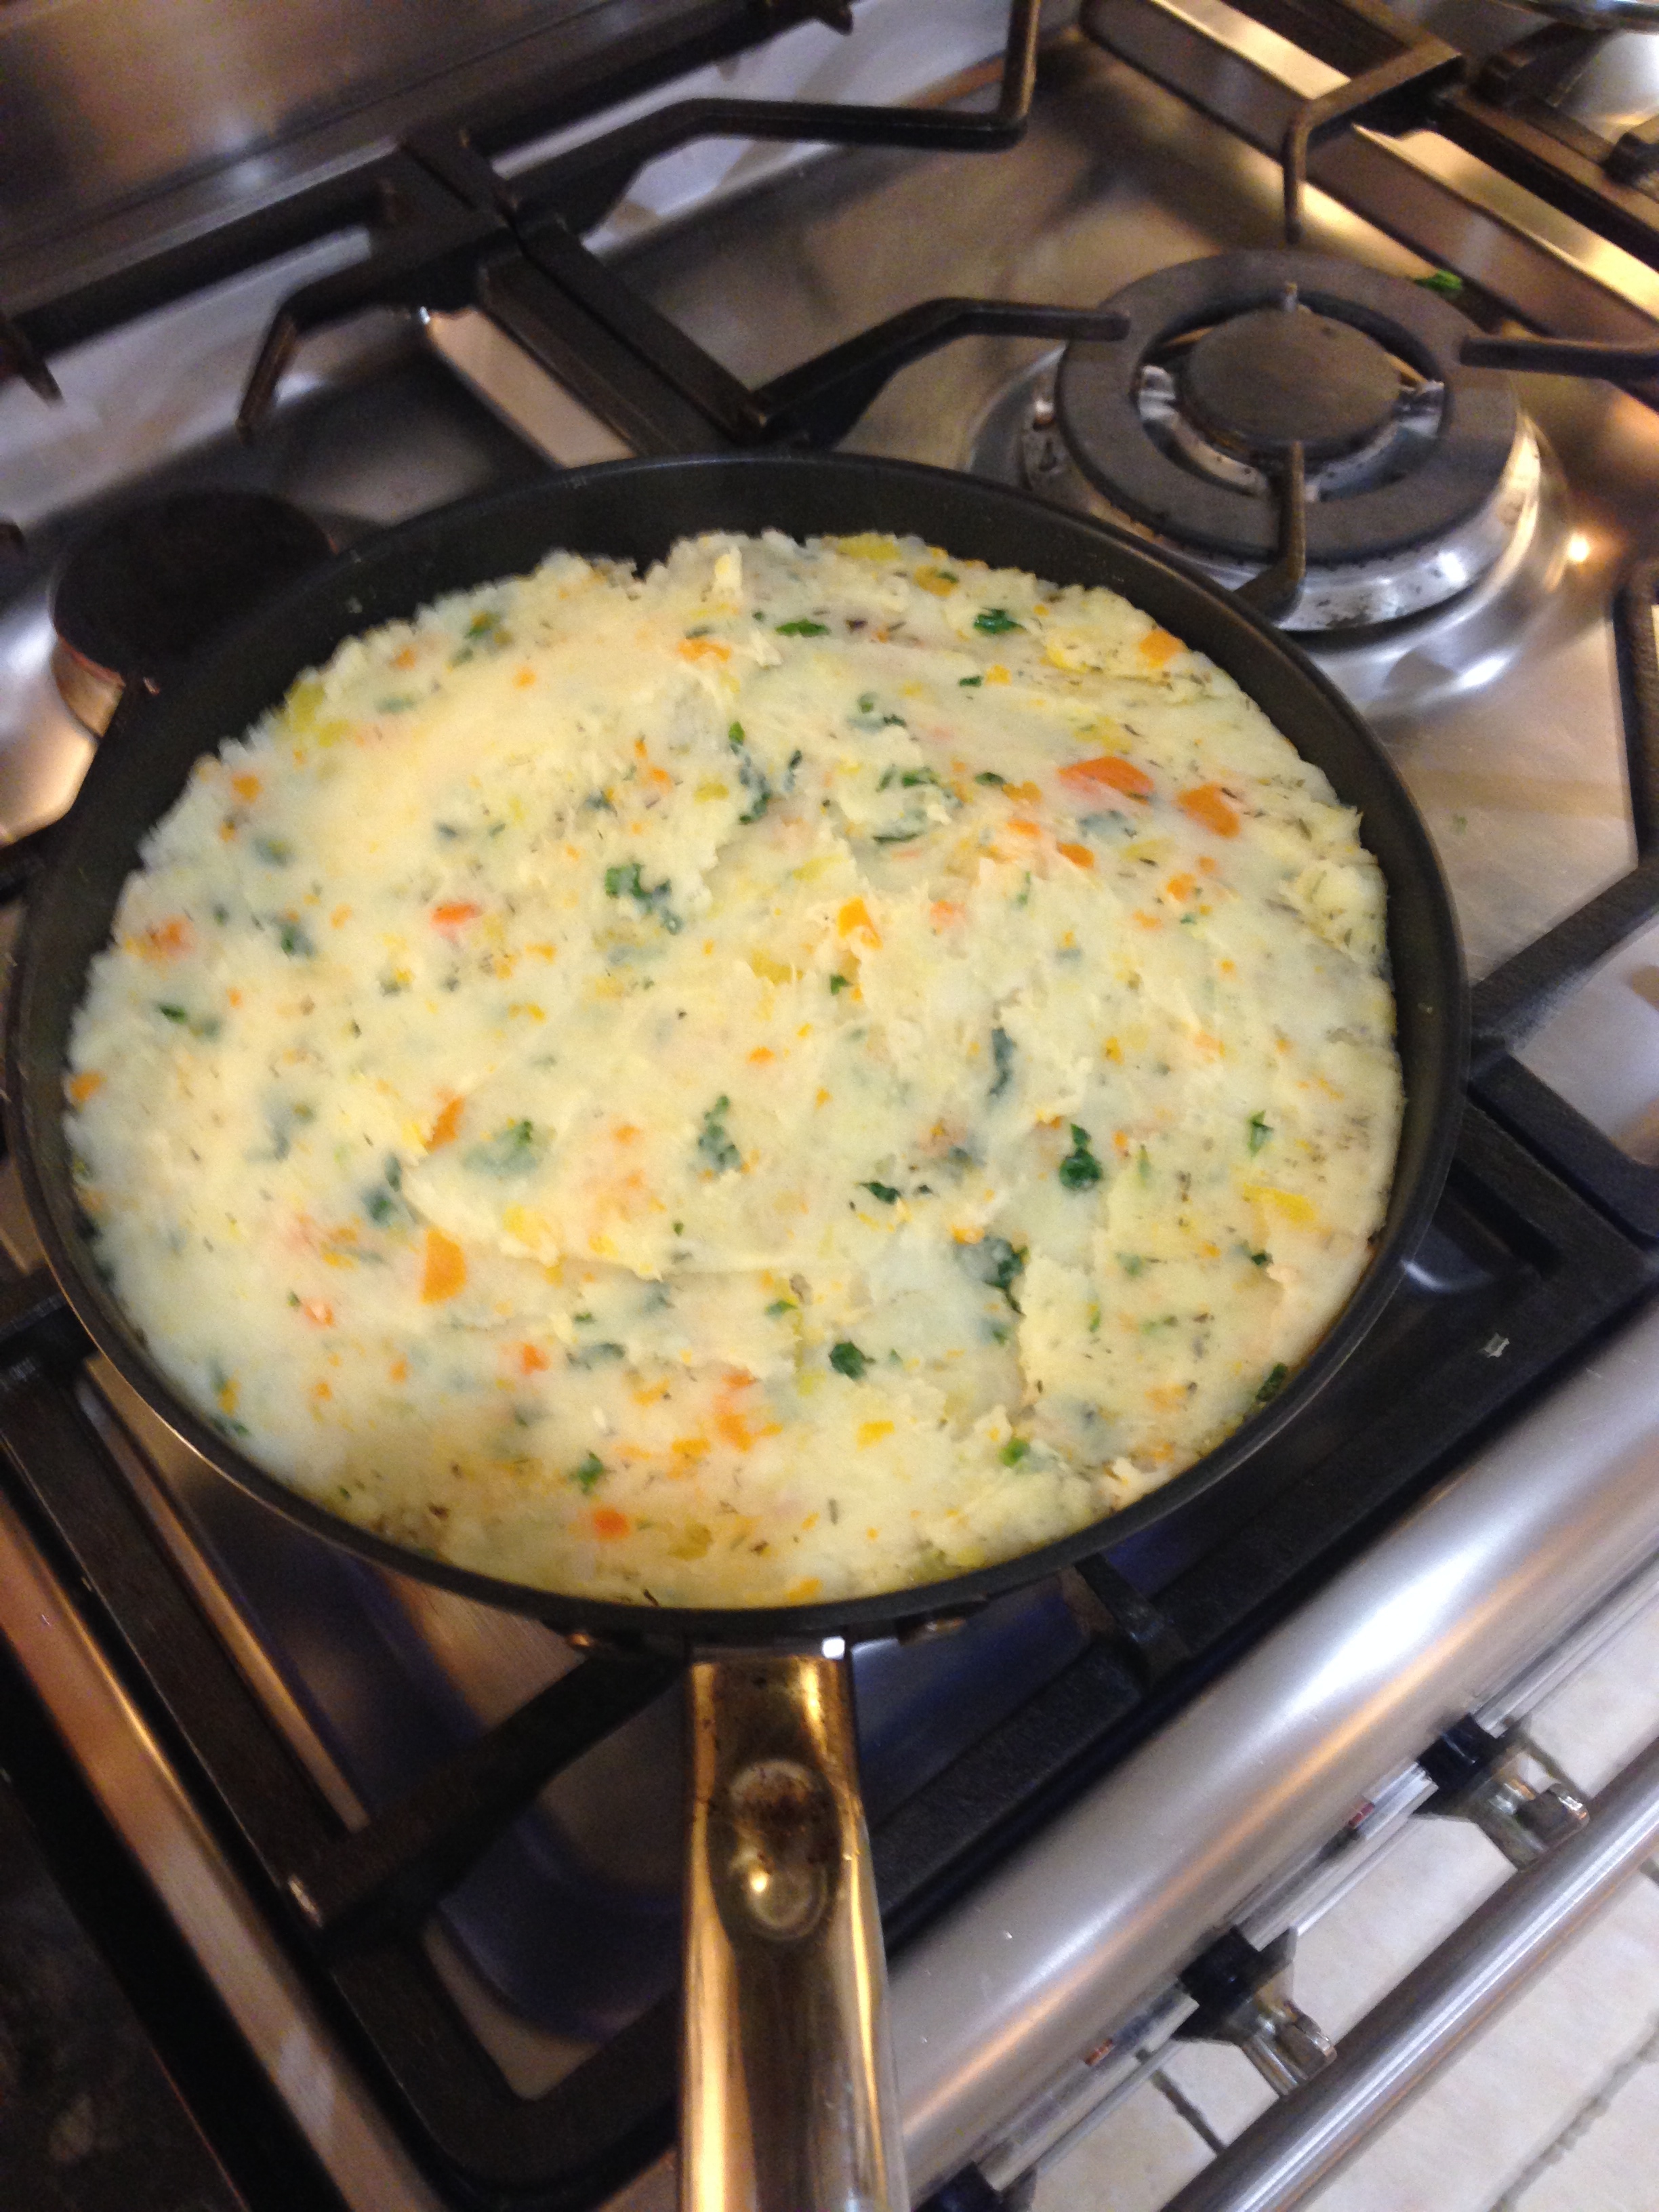
Now place the pie in the oven for 20-30 minutes, or until the gravy is just bubbling up the sides and the potato has just started to go crisp on top.
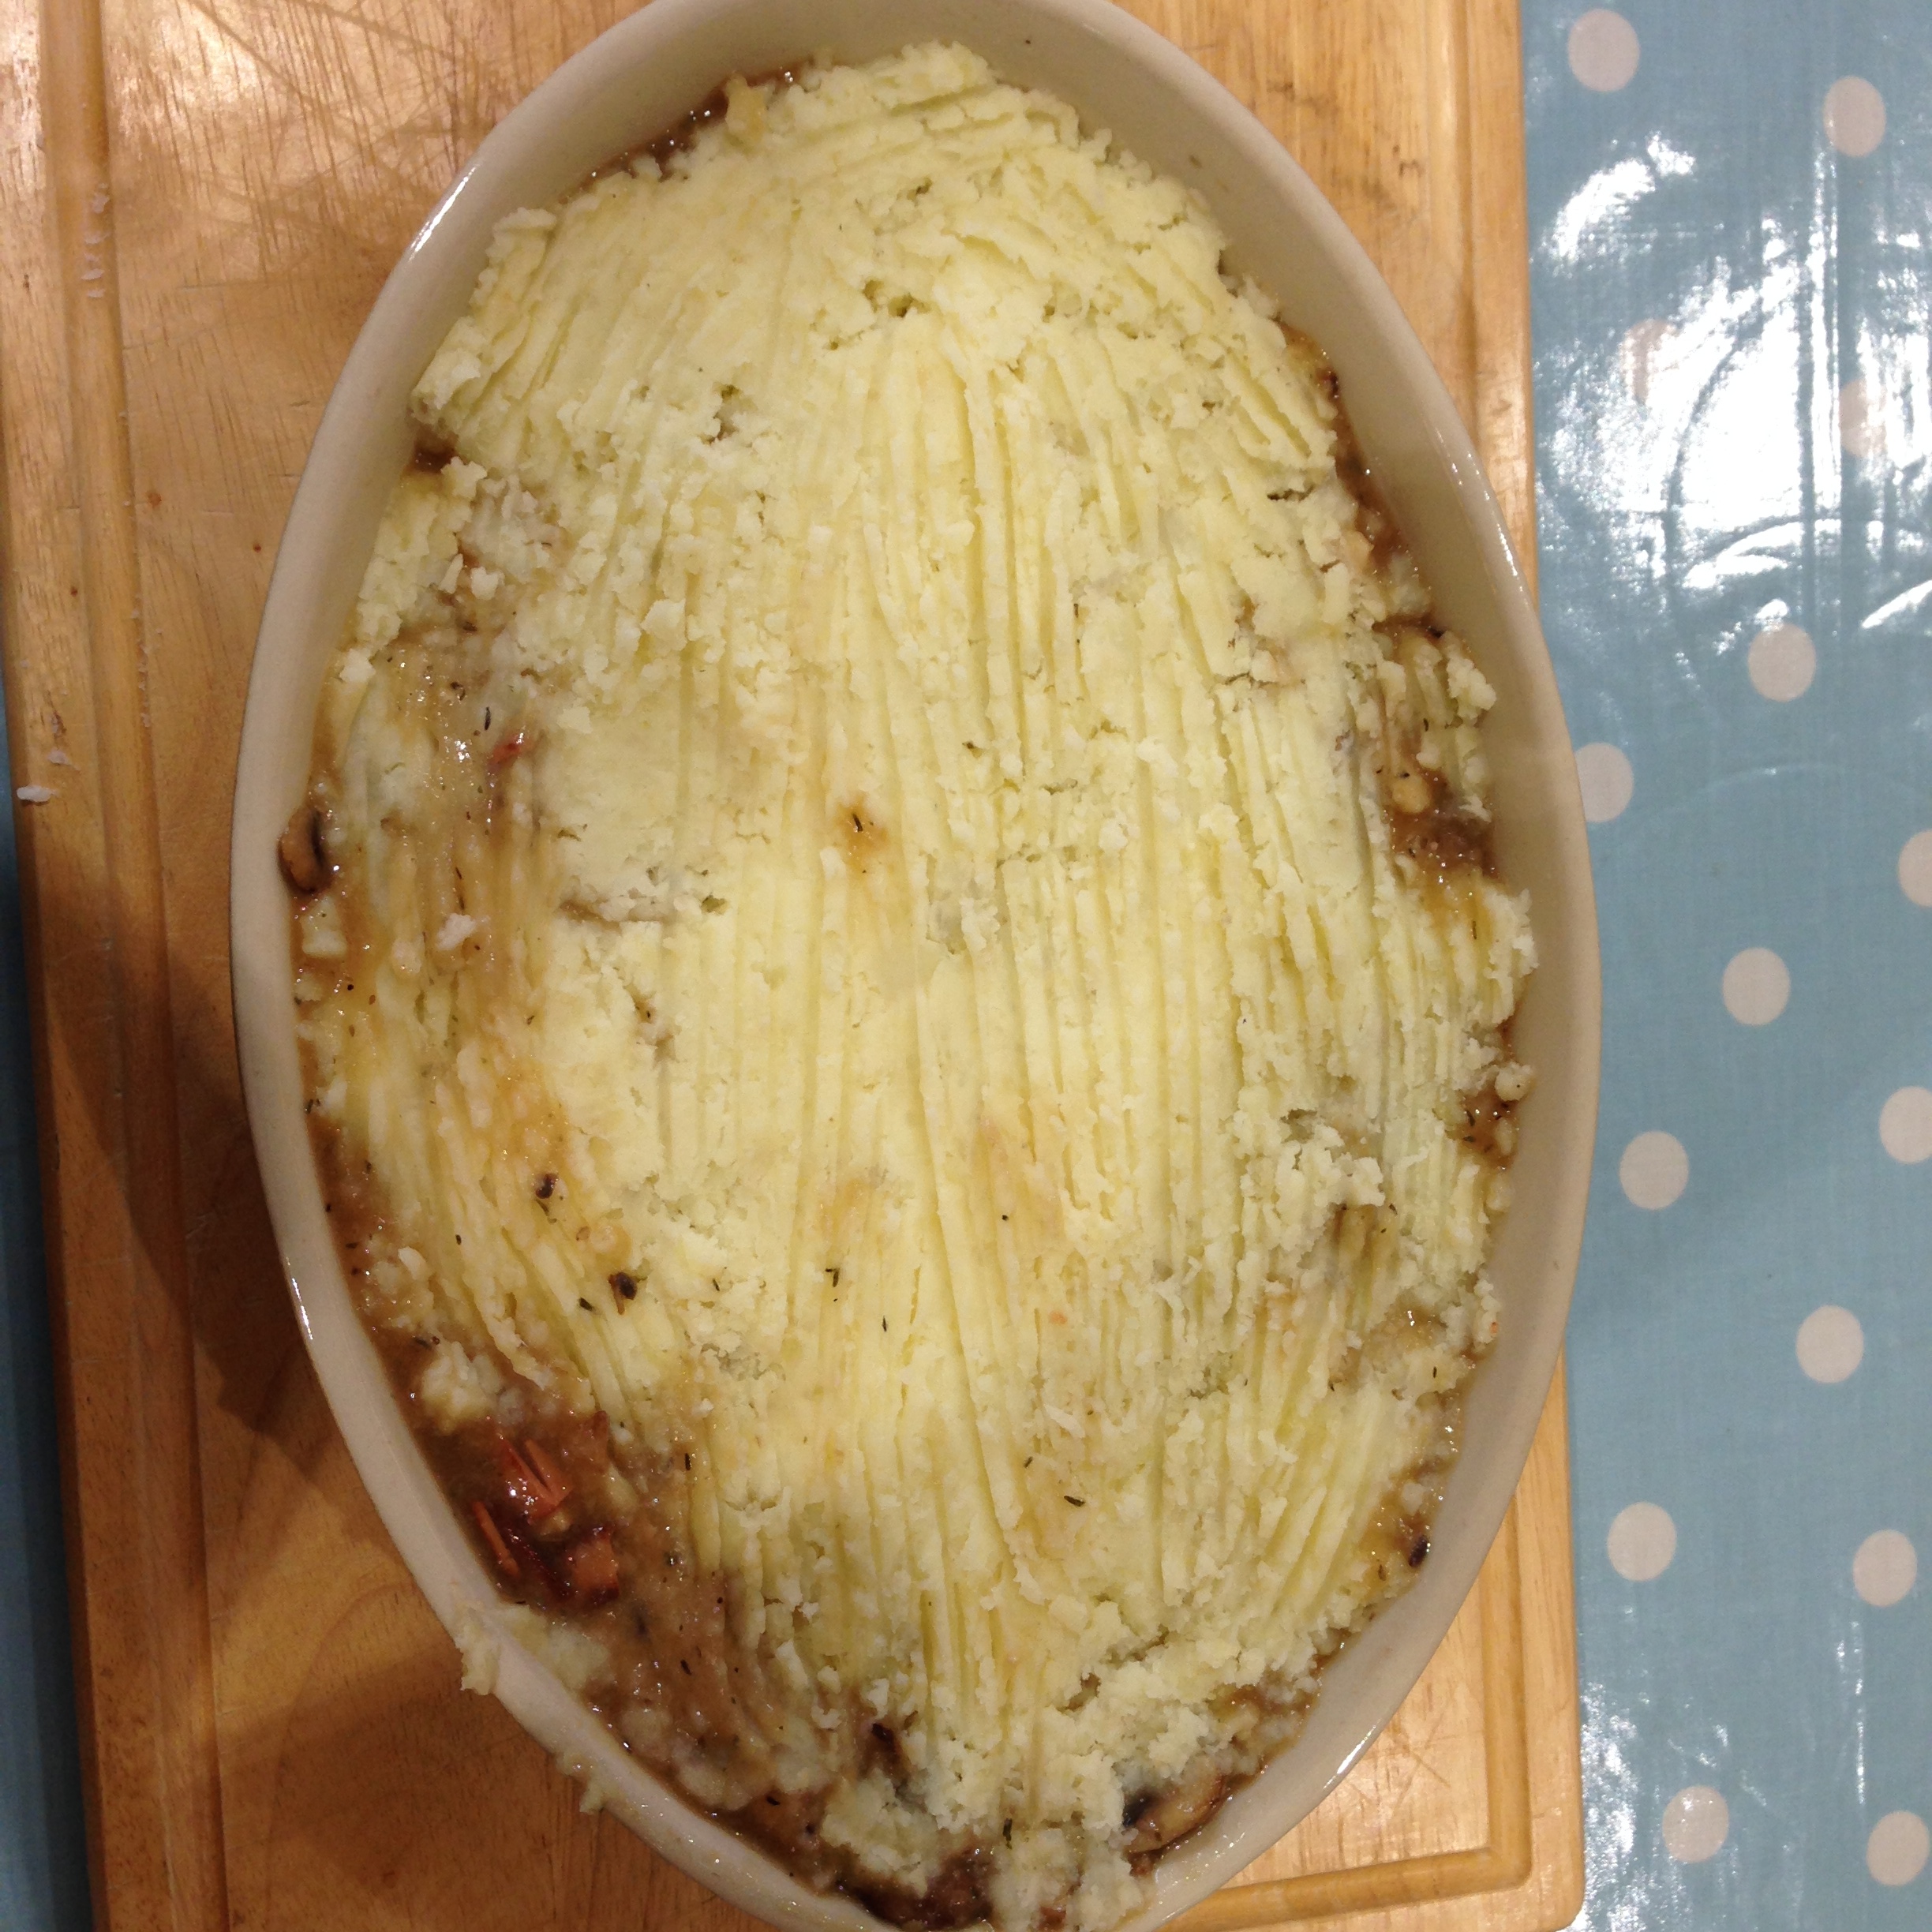
Add the potato topping and cook until crisp with gravy bubbling through
This dish looks, and smells, impressive when placed in the centre of your table (on a heat proof surface) – then just watch your diners dive in and come back for seconds! Serve with a few vegetables of your choice. This recipe serves three if you are all very hungry, but is good for four particularly if served with a number of side dishes of vegetables.
Why I like this recipe
It is another simple recipe, that produces impressive results
It is a great sharing meal – there’s nothing better than a big pie in the middle of the table for everyone to dive into.
It is a great winter warmer and what we call “comfort food” – it just makes you feel warm and full inside, and tastes delicious.
Any leftovers can be kept in the fridge for a few days and reheated in the microwave (my daughter has been known to have it for breakfast the following morning!).
It can also be easily frozen. I will sometimes make an excess so that we have a serving or two to freeze. If using from frozen, defrost throughly and then cook in the oven at 200C for at least 30 minutes.
Finally I like this recipe because this is the end result:
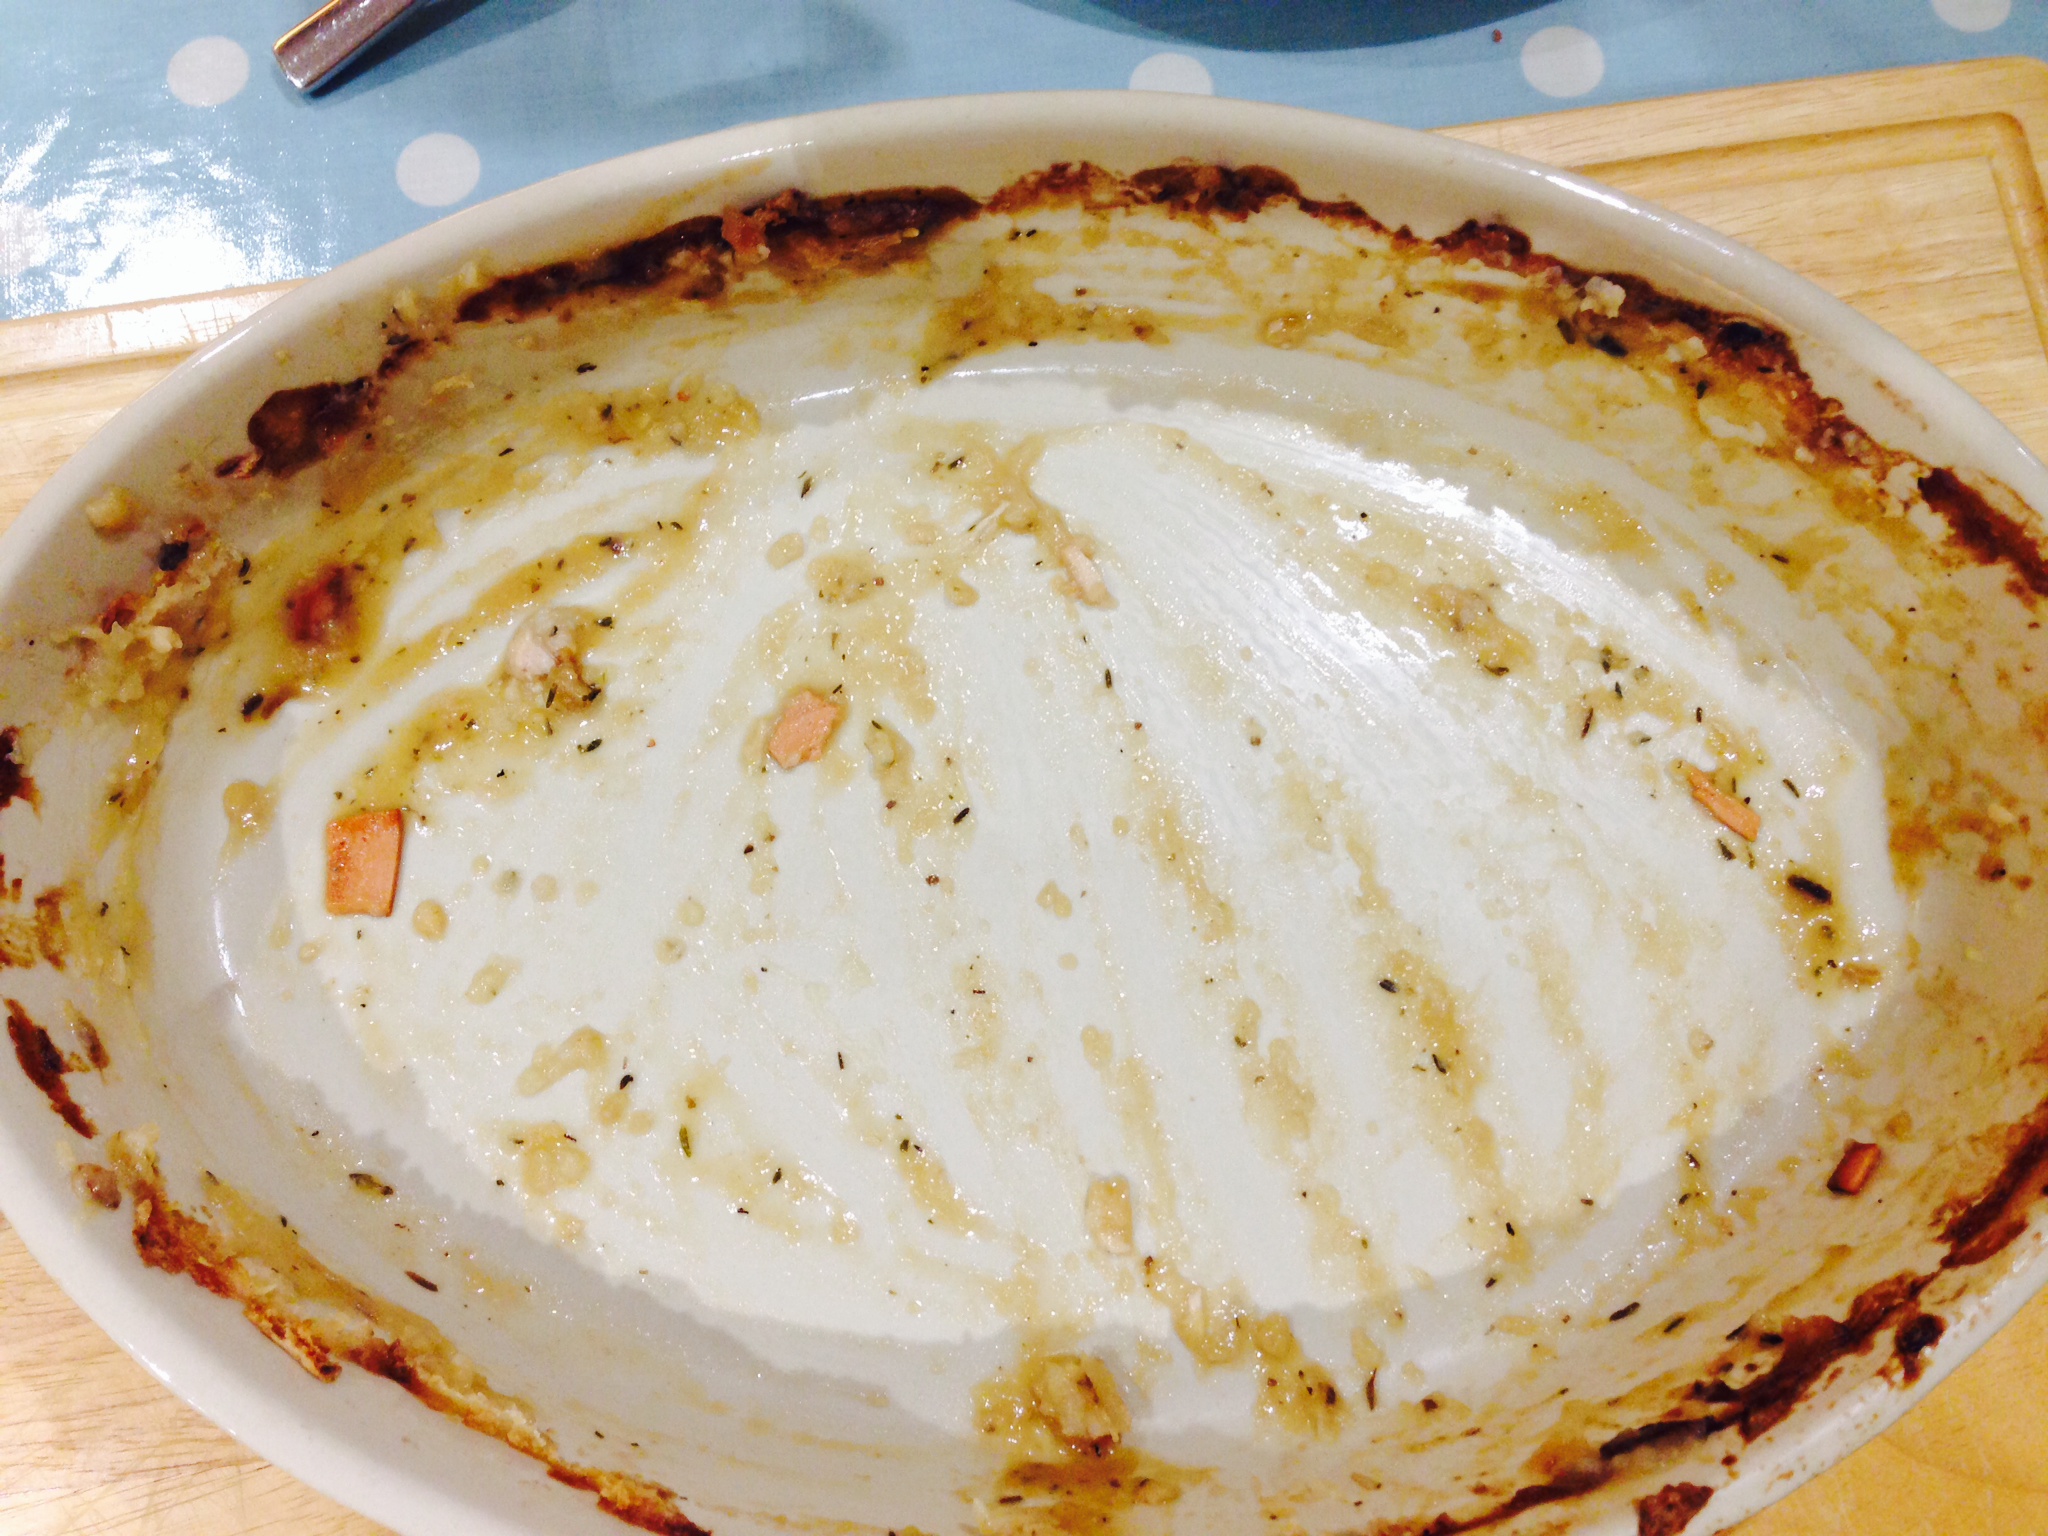
All gone!
That’s the end of my cooking trilogy, but as so many people seem to have enjoyed these recipes I will do another one in a few months time after I have experimented with a few more creations!